Install Openwrt on VNOPN Micro Firewall Appliance
Table of Contents
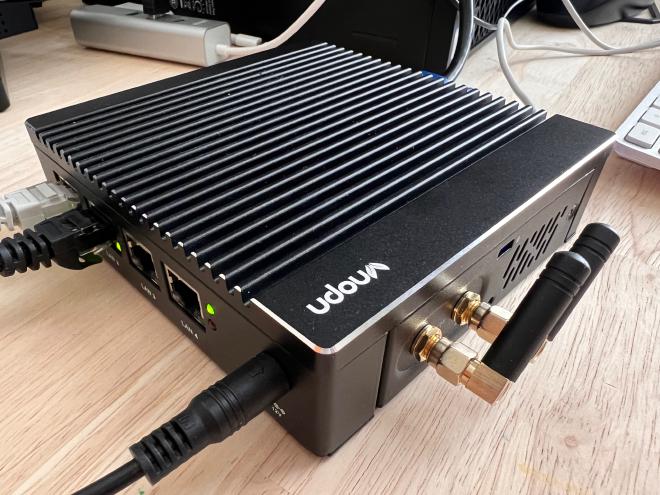
I needed to replace my router, a UniFi Security Gateway, which recently died, so I purchased a VNOPN Micro Firewall Appliance to run OpenWrt. Coming from a managed Unifi device, the setup was new to me, so I’ve documented it below.
Prerequisites #
I started with these items:
- USB flash drive with Ubuntu
- Ethernet cables and a USB ethernet adapter
- The VNOPN appliance with a connected keyboard and monitor
- OpenWrt firmware image for your device. I used a custom-built image by Tobias McNulty. Specifically, a disk image using the traditional OpenWrt layout: a squashfs read-only root filesystem and a read-write partition where settings and packages are stored.
My basic network layout #
My router sits behind my AT&T fiber modem, so my traffic is NAT’d since I don’t have something like an AT&T Residential Gateway Bypass setup anymore:
Install OpenWrt #
Connect a USB flash drive with Ubuntu to the VNOPN appliance. (It’s probably possible to pre-load your desired OpenWrt firmware onto the USB drive, but I just download it here. Make sure an ethernet cable to your upstream modem is connected to the LAN 1 port.
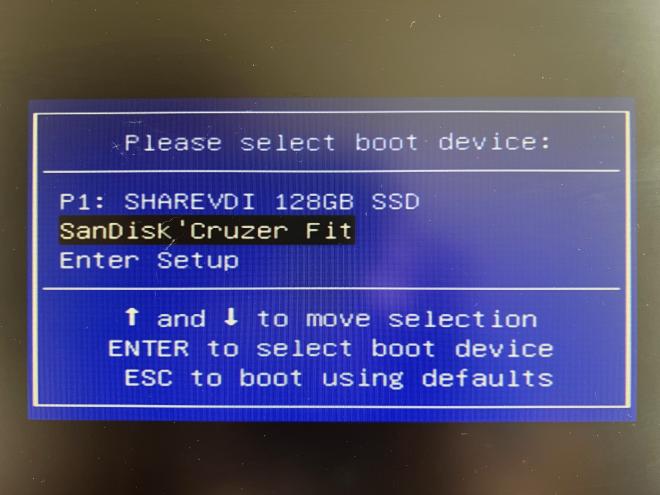
Boot the VNOPN and immediately press F7 to select a boot device. Choose your USB drive and press enter:
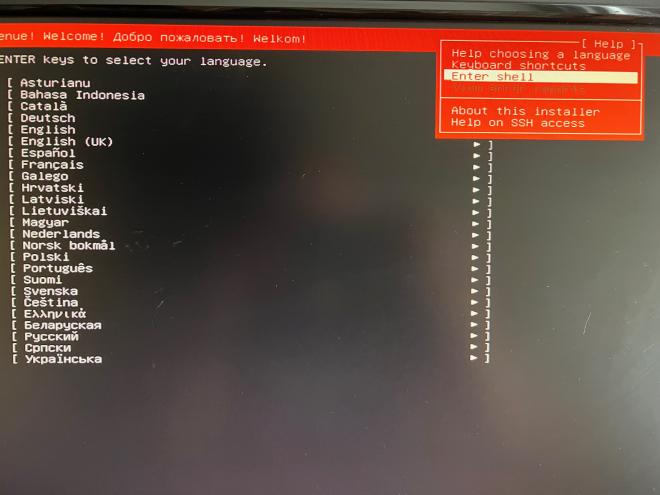
When the installer launches, use the up arrow (↑) to navigate to the Help menu in the top right, and select Enter shell:
From the terminal prompt, download an Openwrt image. I used tobiasmcnulty/router-openwrt v22.03.2 and created a Bitly link for the openwrt-22.03.2-x86-64-generic-squashfs-combined.img.gz image, to make it easier to type into the terminal. Download and decompress the image:
cd /tmp
wget https://bit.ly/3UcZ23h -O openwrt-squashfs.img.gz
gunzip openwrt-squashfs.img.gz
Identify the internal drive you wish to install Openwrt on (in my case /dev/sda):
lsblk
Write the disk image to the VNOPN internal drive:
dd if=openwrt-squashfs.img bs=1M of=/dev/sda
And reboot:
reboot
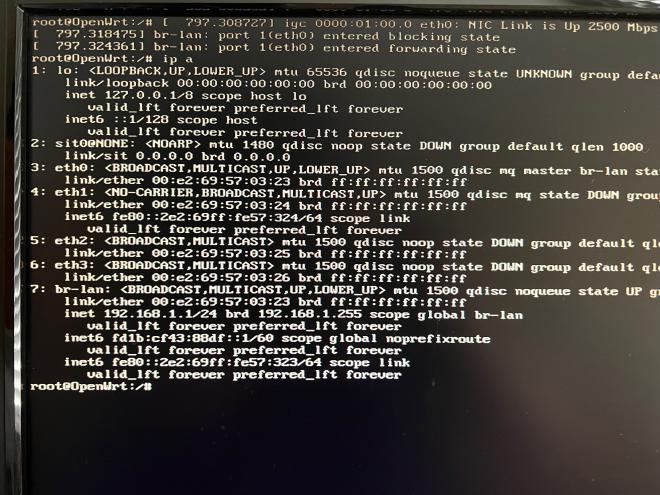
Now plug an ethernet cable from your laptop into the LAN 1 port. You should see the link become active:
Configure OpenWrt #
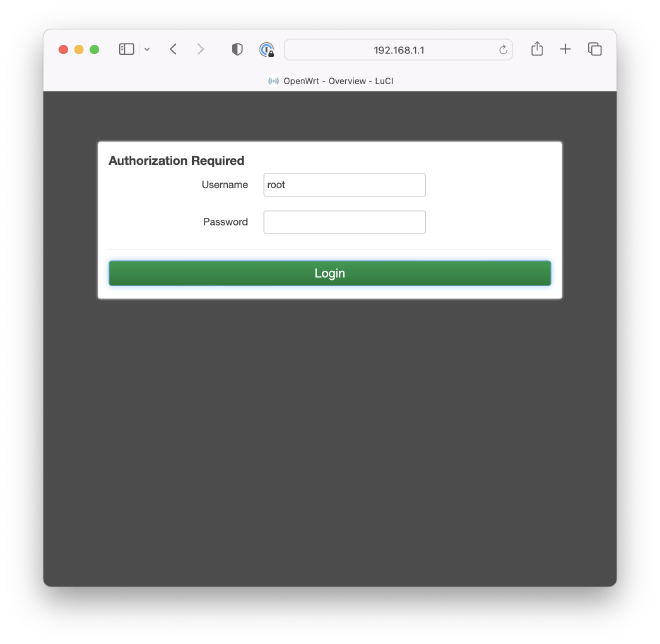
Connect to the web UI by accessing http://192.168.1.1 in your browser. By default, you can log in without using a password:
Navigate to Network→Interfaces to see the default interfaces:
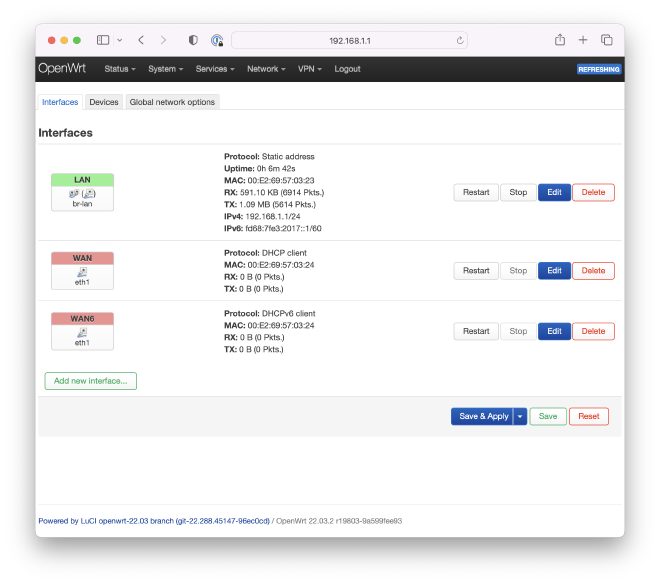
Next we’ll queue up a few changes:
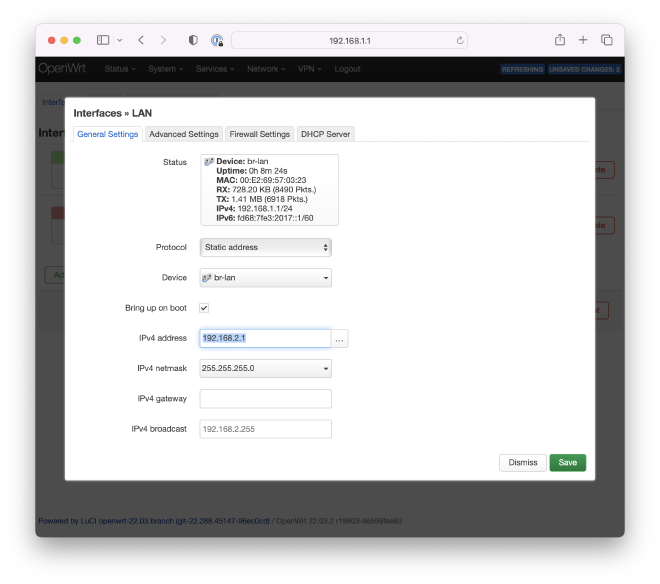
-
My network will use NAT behind my AT&T router, which uses the 192.168.1.x DHCP range, so I want to use non-conflicting address: 192.168.2.1. Edit the LAN interface and change the IPv4 address to 192.168.2.1:
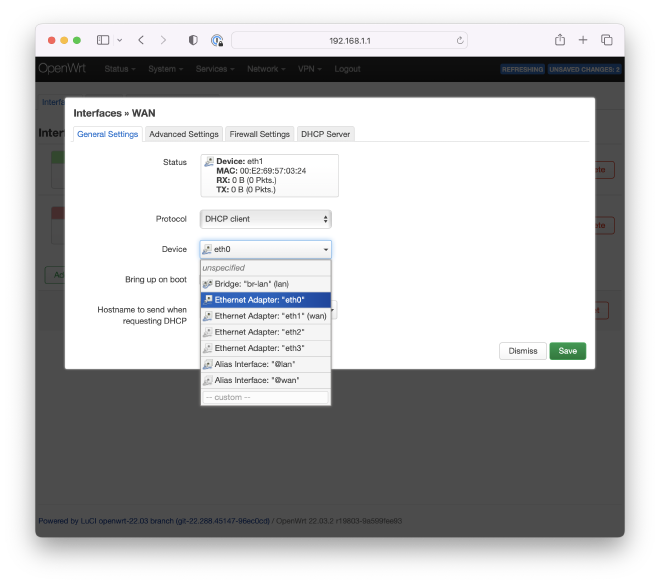
-
I want LAN 1 to be the WAN port connected to my AT&T router, so edit the WAN interface and move it to the eth0 device (e.g. the LAN 1 port):
-
I want LAN 2 and LAN 3 to be my LAN network. Switch to the devices tab, click configure on the
br-landevice, and select the eth1 and eth2 bridge ports (LAN 1 and LAN 2, respectively):
-
Lastly, delete WAN6 interface
Select Apply and Save. Switch your laptop ethernet cable to LAN 2 and plug your upstream ethernet cable into LAN 1.
Now you should be able to access https://192.168.2.1 from your browser. You should also have working Internet! If everything looks good, just plug your network switch into LAN 2 or LAN 3.